Category Archives: DIY Instructionals

Prepare a Canvas for Hanging

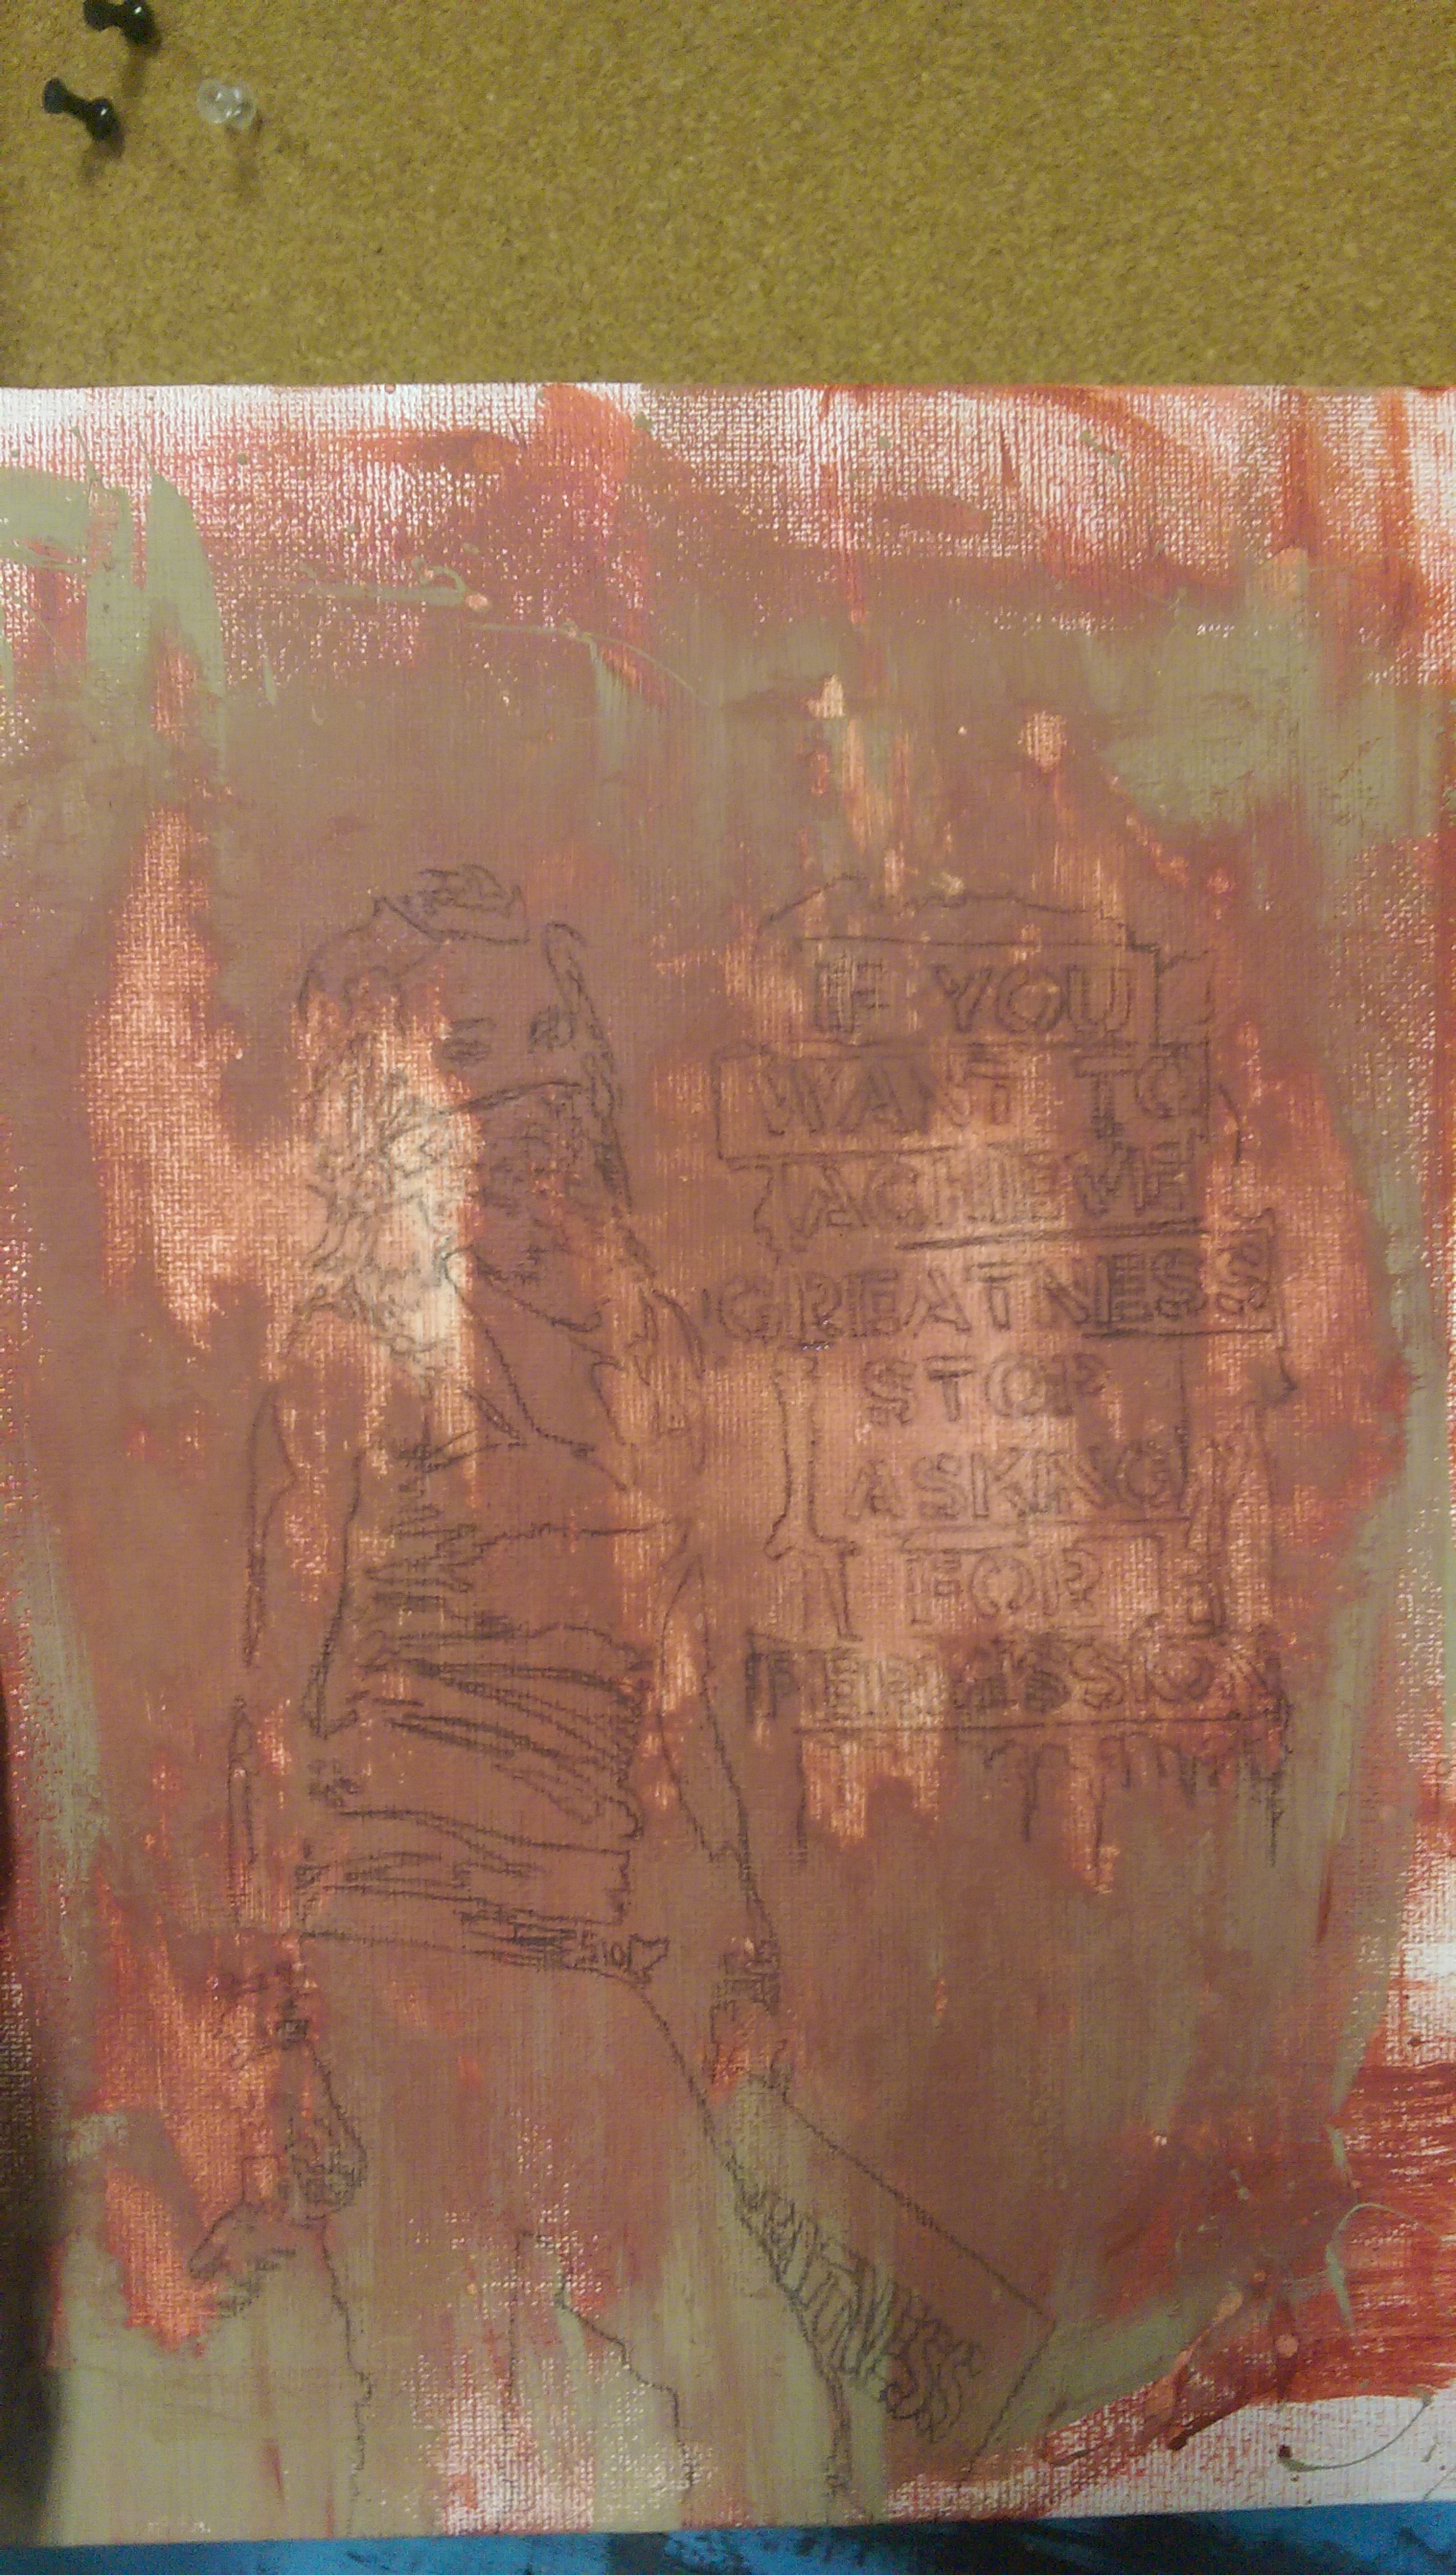
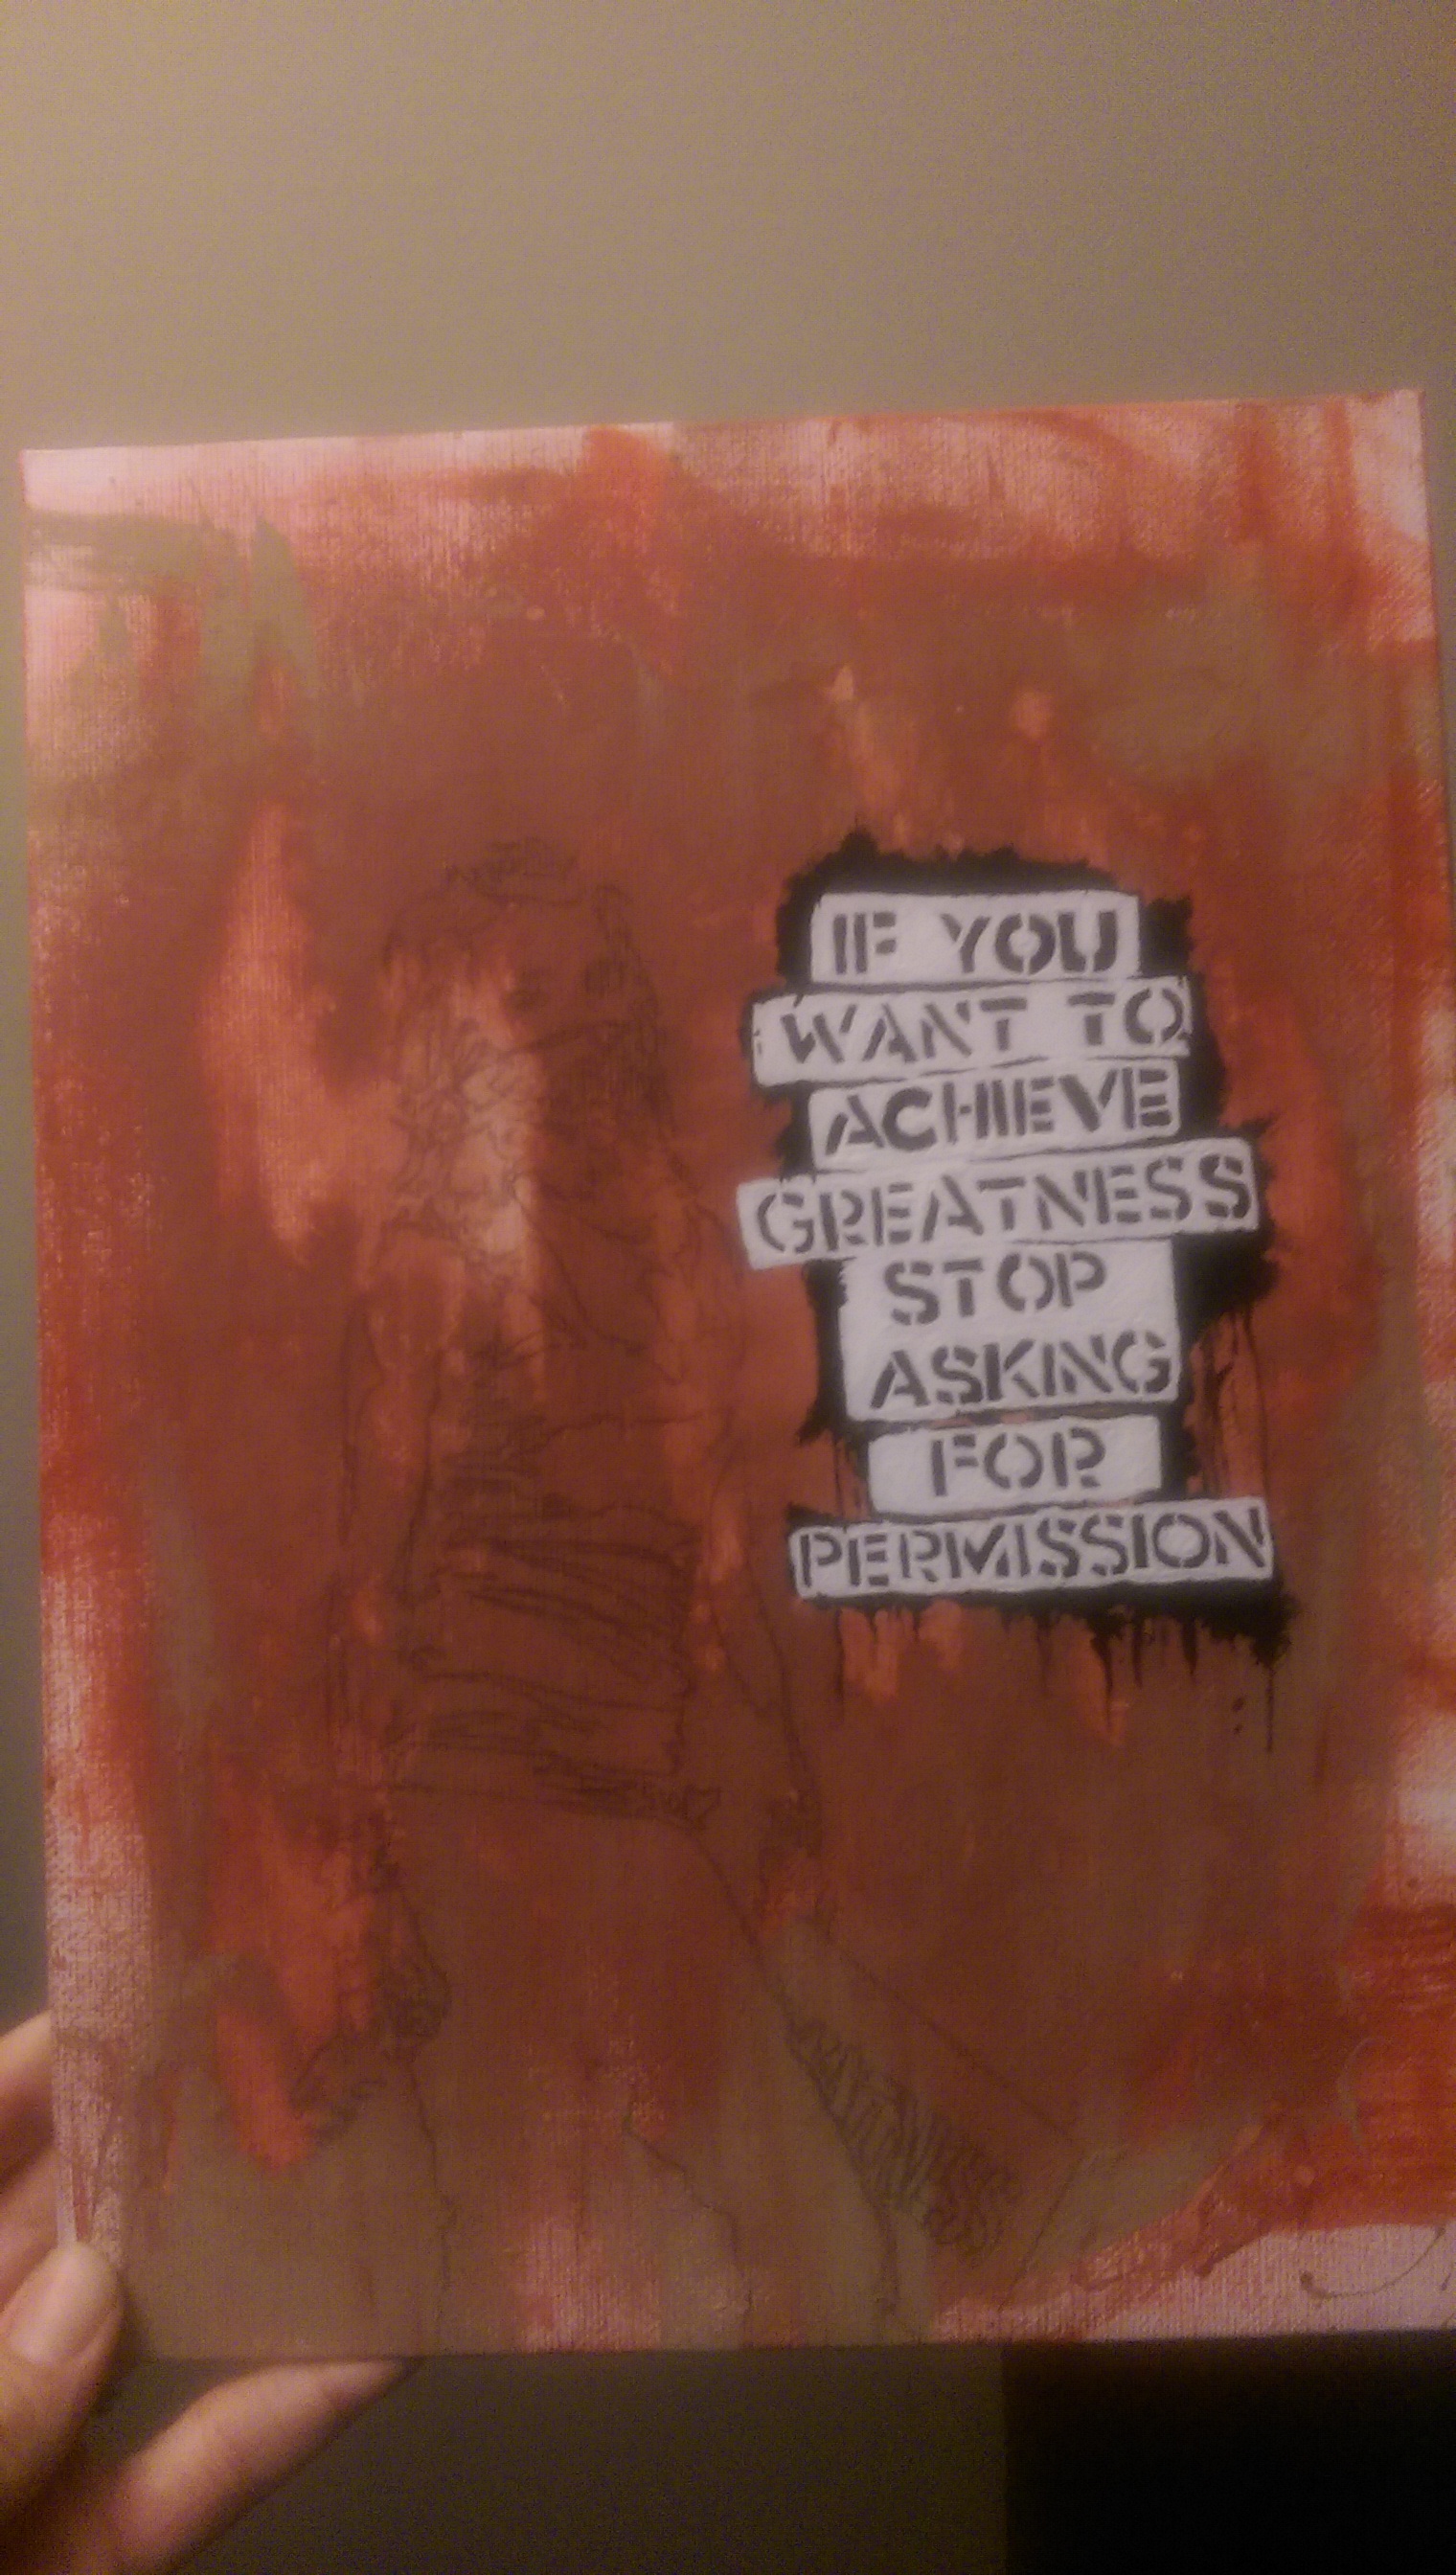
I should do this every time I finish a painting, but it’s not my favorite thing to do so I usually end up putting it off until I HAVE to do it and then I have a whole bunch to do at once. This was the case when I realized I needed to get most of my paintings hang ready to display at Pope Mountain Arts for November. Don’t be like me and make sure to have your paintings ready to hang as soon as you finish them! That is my number one advice.

Since most of my paintings were sitting in my studio collecting dust the first thing I had to do was clean them. I used the bread method, which I’ve raved about in the past and swear by.

Please note that I have only tried this method with acrylic paintings and don’t recommend it for other types of painting. Since I’ve never tried it on other types of paintings I can’t vouch for it’s validity.

Step 1: Have a Clean Painting

A dirty painting will scratch and smear when flipped onto it’s face to attach the hardware on the back. Make sure your table is clean and your painting is clean before you start. If your painting is fresh and brand new this may not be necessary and you can skip to Step 2. But if those paintings are needing a little TLC all you need is a piece of white bread. It is soft, porous and absorbs dirt and oil.

Our hot dog buns were getting stale so I decided to use them. It was just as effective and I think they were a bit tougher and didn’t fall apart as fast as a slice of bread does. If you’re using sliced bread I recommend using the end pieces. They are tough enough to last a few paintings and I know (at least in my family) nobody wants to eat the end pieces. Full disclaimer: it gets really messy but it is fairly easy to clean up (just sweep it up with your hand).

After watching the video you might be thinking “couldn’t you have just used the Swiffer duster to dust the painting?”. I did try that but I found it just snagged on the painting when it was dirty (but didn’t when it was cleaned) and it left streaks in the dust rather than actually removing it. The bread also absorbs dirt and oil off the painting while the duster just sort of scraped at it in a half attempt to remove the dust only. It did work great to remove the bread crumbs though.

Step 2: Measure Twice

Measure your painting from the top to figure out where to place your hardware. I have learned these things through trial and error:

Don’t measure at or below halfway. If your hardware is installed below the halfway mark your painting will hang off the wall funny. It will stick out instead of laying flat against the wall.

Make sure both sides are installed at the same height. You don’t want your painting hanging crooked either so make sure both sides are level.

Install your eye hook inside the painting frame not on the back. If it sticks out the back your painting will not lay flat against the wall.

Step 3: Attach Your Hardware

There are several different kinds of hardware you can use to string a canvas painting. I like to use a nice quality closed eye hook. There’s no chance of the wire slipping off with a closed eye hook.

You can use a drill bit to create a small hole to twist the eye hook into. I find our drill is never charged when I need it (or I can’t find it) so I usually just use a hammer to get the eye hook started and then I screw it in by hand.

Whether you leave the eye hook turned downward (like in the photo below) or facing outwards it doesn’t really matter. If you find your hook sticks out too far and compromises how the painting lays flat against the wall then you may want to turn it to face outwards so that it is flush within the frame of the canvas.

Step 4: String Your Wire

The gauge (thickness) of the wire you use will depend on what your personal preferences are and how big your painting is. I’m not sure what gauge the wire I am using is but it’s thin enough to easily bend and twist but thick enough to withstand that twisting without breaking.

Roughly measure your wire (I eyeball it) so that you have enough wire to string between both hooks without leaving the frame of the canvas. You will want to leave 1/2 – 1″ of space between the top of the wire and the top of the canvas frame. If you don’t leave that space you’ll find that your wire sticks out the top and/or the hook you are using to hang from the wall will stick out the top or push the painting forward so that it is not flush with the wall. You’ll also want to leave about an inch or so of extra wire on either end of the hook. When you string the wire through bend it backwards and wrap around itself up the wire. Before you come to the end bend it back down and wrap the rest of the way around itself going the opposite direction. This might be overkill but it’s how I like to make sure my paintings will stay hung up securely.

Once both ends are attached you can hang your painting on the wall. With this method it should hang flush against the wall. A regular picture hanging hook should do the trick to hang on a wall. You want to hang it on a hook that bends upward so that the wire doesn’t slide off.

I was getting my paintings ready to hang in a gallery which hang from a wire that comes down from near the top of the wall. This makes the paintings stick out a bit and so where the wire is placed is even more important to try to hang the painting as straight and flush as possible.

How To Art: It Starts With a Sketch

How To Art

Part 1: It Starts With a Sketch

After much searching this is the earliest photo of this piece that I could find. Quite often I share my process from start to end in real-time on Instagram (follow me @sLsArtistry if you’d like to see these!) but originally I wasn’t going to share this piece because it was my first attempt at a large painting. I wasn’t sure how it would turn out, and to be honest, I wasn’t sure how I was going to do it. It’s difficult for me to write a “how to art” article about my process because a lot of what I do happens on a whim without much planning or thought. Some paintings I plan out more than others and I touch on this at the end of this post. This is mostly a view into my more creative process of painting. So keep in mind that this isn’t how I always paint and it doesn’t mean that this is how you should paint either. You should paint however it helps your process to create works of art!

I gather my reference photos in a variety of ways. I don’t always remember where they came from. After much searching I can’t seem to find it on their page, but I’m pretty sure this one came from Ironwood Wolves photographer Rachel Lauren. Amazing photos and an amazing sanctuary for wolves! They do fantastic work in education and I highly recommend checking out their page. All that said, I don’t use reference photos to copy the photo, I use them to guide myself on pose, texture, colours, and other details I don’t always remember from mind. I’m not copying the photo or trying to recreate their work. In the end my piece generally bares little-to-no resemblance to the original reference. If you want to take someone elses work and reproduce it as is (a landscape, for example, is something I’ve done in the past) you need to get written permission from the artist to use their photo as a reference. Most will give permission gladly, if it is something you are doing as a study. If it is something you intend to sell you need to discuss that with the original photographer, as it is their copyrighted work that you are reproducing.

Now that we’ve touched on references and copyrights a bit, let’s move on to the actual process!

For this painting I sketched my figure in paint. This isn’t something I usually do, and I had to paint over and redo a lot of it several times. This is the beauty of paint; you can always paint over it (unless you’re using watercolours, that is). I chose a quite challenging pose and it took me a while to get the front legs right.

Once I had my sketch I began to black out the background. I did this in pieces and started in the area I needed to cover up mistakes the most to focus on my final sketch of my figure. I used shades of blue as an underpaint to determine value on my wolf. This is also I process I had never tried before but have seen many times by other artists. I quickly learned I had no idea what I was doing and that maybe this is something I should try on an easier, smaller painting first. I am glad I tried it though, as I loved the way the blue looked showing through my wolf and I decided to leave several parts with blue showing through. You can learn more about this method of underpainting here: Underpainting: Why You Need To Do It. You may notice that in these posts about how I create, that my method is a little different every time. This is part of growing as an artist. It may take you years, decades or even a life-time to figure out what your style and method is. You may never figure it out! The most important thing is that you keep trying new things, keep learning and keep growing as an artist. This is something you should strive for with every single new piece.


Another method of sketching a painting is to paint your background and then use charcoal or pastel to sketch your figure (or in the case of landscapes; sketch your basic shapes of mountains, trees etc.). The charcoal and pastel erase easily and can even be painted over easily enough. Unless you are using charcoal or a coloured pastel and trying to paint white over top, you may find the colour blends into your paint. Take note of your colour use before you decide to paint over your sketch lines and whether they should be erased or not. I usually use white pastel on a dark background or charcoal on a light background to keep it simple and easy. I started as a graphite pencil and charcoal artist; so sketching feels more natural for me this way and this is how I usually start my paintings.

As you can see, I lightly sketched in the basic shape of the wolf as well as details such as fur, nose, eyes, the smoke and lava coming from it’s mouth. You can also sketch in shadows and highlights at this stage. Don’t over-do it though. You are not sketching your final piece at this stage and your lines should be simple and neat. You can even use different coloured pastels in order to keep track of what the different lines are for. For example, I could have sketched the fur and wolf details in white and then add the shadows with blue and highlights with pink, and use other colours such as yellow and orange to create the lava and smoke. Since I knew I’d be adding paint to canvas right away I didn’t bother with any of this because I could picture in my head what colours I was going to use next and where they would go.


The final method of sketching that I use is to create an original concept, make a stencil from it and then transfer the pencil to the final surface (whether it’s on specialty paper for a drawing or on canvas for a painting). This is a method that is commonly used among artists and one that I save mostly for commissions or pieces that I feel need a bit of pre-work to get them right. This method allows you to create your concept through trial and error and without ruining your good quality materials in the learning process. Once you have your final sketch it is hard to redraw it exactly the same, so transferring it using a stencil helps you keep most of those details in tact. You can find my simple method to transfer a photo HERE.


There are many ways to start a new painting or drawing. The methods used are as unique as the artists who create them, especially when it comes to self-taught artists like myself! My biggest piece of advice that I can offer is to keep practicing and follow other artists on social media. Instagram is a great place to find artists who post works in progress and more insight into how they create their work.


Up Next in this blog series ==> How To Art: Light and Dark

Goodbye 2017… Hello 2018!

I keep seeing memes and hearing comments abut 2017 being a dreadful, insane year. 2017 was chaotic, indeed, but my year was amazing. My year started off with the birth of my daughter and catapulted from there. I adjusted to motherhood quicker than I expected. We lucked out with an amazingly calm, happy baby girl who made my introduction to motherhood easy. I love my daughter with all my heart and she makes our family and home complete. That being said, I knew I had a challenge ahead of me, as well as an opportunity. I’ve  always been working or consumed by something that has limited my ability to take on my artwork as a career. I had just started to gain momentum when I became pregnant and it felt like all my creativity (and energy) was zapped out of me. We made the decision that I would leave my job at the recycling depot and stay home to take care of our daughter. This has given me the opportunity to focus on goals to reach with my artwork.

It’s been a challenge, to say the least. Abby comes first above all else, so I’ve had to learn how to break down my goals into smaller ones that are easier and more tangible for me to accomplish. I’ve had to learn exactly how much I can expect from myself and what was too much pressure. It’s easy to get frustrated, to feel like I’m moving so slowly through my artistic journey, but it’s a speed I will have to maintain for now in order to balance my responsibilities.

In May I started to plan my first art show, and in October the Other Worlds Art Show ran from (Friday) October 13th until Halloween at Pope Mountain Arts. I was joined by Anna Pitcher, Heather Witte, Erika Gardner and Erin Stagg. Four lovely ladies that I had a pleasure to get to know as fellow artists and friends. The show was a whole new experience for me. It was the first time I had ever shown my artwork and it was the first time I’d ever spearheaded such a big project. It was a lot of work, a lot of fun and a labor of love. I enjoyed the whole process from start to finish and it’s something I’d love to do again. Opening night was a huge success, over 60 people in attendance for opening night (which is a lot for our little town and an event like this), and a lot of pieces were sold that first night. I continue to receive comments about the show from those who saw it or those who had heard about it but didn’t make it to see it.

I found this amazing desk for FREE on the local buy n sell page. It took three men to move it on a snowy day and they were barely able to maneuver it down the stairs into the basement and around the corner into my art studio. I love this desk! It is big, spacious, has a built in light box (something I’ve wanted for years!). It is solid and creates this massive space for me to work in.

I have big plans in mind for my art studio for 2018. I just ordered a new scanner (I’m extremely excited about this) and am going to set up an office space in my studio (finally) where I will be able to scan all of my work, even the oversized paintings!

Early in December I attended my first pop-up-shop. There is a couple of ladies that arrange them for local businesses to sell their crafts and wares. This was a new experience for me, as I’d only ever sat at a table at these types of events as either an educator (recycling) or volunteer (humane society). This was the first time I was putting myself out there to actually sell my art. The art show gave me a little bit of experience on this, but this was on a smaller, more personal level. It was a slow day, unfortunately, but it gave me ideas on what I’d like to do at the next event I do.


I started to offer gallery quality prints for the first time this year. I currently have 4 available to order. “Escape”, “Lion Love”, “Polar Portrait” and “Watercolour Shark” are available to order. I have limited prints of “Lion Love” and “Escape” available to buy locally (Fort St. James). I am able to ship directly from the company I order the prints through to your door as well! They are currently $25 each (plus shipping).

I order them through a company called Finer Works, and they have so many types of paper, canvas and products available to print on. I am excited at the possibilities that this company and my new scanner will bring in the new year!


I have limited original paintings available for purchase on sale at the moment. None of these paintings have scanned copies and are 100% unique!  One of these pieces found it’s home all the way in Texas, USA! You can find those available in my shop.

Which brings me to… the new shop! It’s a work in progress. I still have some things to do to figure out the shipping costs, so until that’s done I’m only offering local pickup. There is a new set up to view the options for my custom pet portraits available through the shop now! You can select the style you would like to order and the type of pet. This form method to order a custom pet portrait is set up to work! It is still a good idea to reach me through Facebook or email to inquire about a custom pet portrait though, as I will require more details than what’s offered on the shop (and reference photos).

I had a few pet portrait orders at the end of this year when I opened them back up. A couple of really fun pieces to work on, and there are a couple more still on the back burner for the new year. Commissions will be opened again January 7th 2018.

I have a lot of things planned for 2018 and I hope it brings a lot of new challenges and adventures!

Love Birds in pastel pencils with a watercolour wash on recycled Bristol paper. This drawing was a Christmas gift for my grandmother.


Welcome to Patreon!

Hey Guys! It’s been so long since I’ve posted you’ve probably wondered if I fell off the face of the Earth or something.

I’ve been very busy with my daughter who will be 4 months old on the 6th (wow does time ever fly!). I desperately miss my art, however and desperately miss being a part of an art community as well. Which is where Patreon comes in.

Patreon is a fantastic site for creative people that allows you to create content, interact with your fans and create a community through your art all while getting paid for it! Basically, the content I’ve been providing for years on sLs Artistry for free is now going to be subscription-based. Sorry to those who can’t afford to pay for it! I’m afraid I can’t afford to provide it for free anymore though, now that I have a little one to worry about. It’s also a good way to add more value to the content I’m creating. Money is always a good motivator, ask anyone. With people spending their hard-earned money and time on my art I feel more inspired to create it and create it well on a regular basis.

So how exactly does this work?

There are 4 tiers of pledging on my Patreon page.

The first tier is the “Jackson Pollocks“. This group is for those who can’t afford to pledge very much but want to support and be involved. It costs $1 a month and you get a bunch of cool little things for it.

  • Access to patron-only content
  • Name on Supporters page of sLs Artistry.com
  • Sneak peek photos of upcoming releases
  • Access Patron-only polls
  • early access to blog post content on sLs Artistry.com (posted on Patreon first)
  • Access to tutorials and “how to’s” on sLs Artistry.com (posted on Patreon first)


The second tier is the “Pablo Picassos” which is still quite affordable but has a little more bang for your buck. It is just $5 a month, and here’s the cool rewards that you get…

  • 5% off Custom Pet Portrait (applicable once a year)
  • Exclusive access to certain tutorials & How-To’s not available on sLs Artistry.com  (ie. TARDIS crochet pattern)
  • Process/behind-the-scenes
  • Pablo Picassos welcome package (sticker, welcome letter, signed 4×6 print etc.)
  • Plus all Jakson Pollocks rewards


The third tier is the “Salvador Dalis“. $10 a month and you get all these sweet rewards with it… (by the way, don’t you just love this picture of Dali?!)

  • Video behind the scenes/speed paintings etc. (exclusive to Patreon)
  •  Salvador Dalis welcome package (stickers, signed 5×7 print, welcome letter, surprise bonus reward!)
  • Exclusive access to certain tutorials & How-To’s not available on sLs Artistry.com (ie. TARDIS crochet pattern)
  • 10% off custom pet portrait (applicable once a year)
  • Access to the Traveling Sketchbook (multi-artist contribution sketchbook. Kind of like traveling pants but better!)
  • Plus Jackson Pollocks rewards
The fourth and final tier is the “Van Goghs” at $20 a month. The Van Goghs get all the best deals and content!
  • 10% off 2 available prints (per year)
  • `15% off Custom Pet Portrait (applicable once per year)
  • Exclusive access to certain tutorials & How-To’s not available on sLs Artistry.com
  • Van Goghs welcome package (stickers, signed 8 x 10 print, welcome letter, bonus surprise reward!)
  • Access to the Traveling Sketchbook (multi-artist contribution sketchbook. Kind of like traveling pants but better!)
  • Video behind the scenes/speed paintings etc. (exclusive to Patreon)
  • Plus all Jackson Pollocks rewards
If you want to know more please feel free to comment or e-mail me with any questions you may have about rewards etc.

How to Transfer an Image

This month has been a whirlwind. Actually, the last couple months life has just been throwing lemons at my head. I find myself with an exceptional amount of time on my hands right now. I’ve been diving head first into my art in order to sooth my soul and accomplish some goals on my ever-expanding drawing board.

I wish I had more to show for it at this moment but I don’t really. If you follow my Instagram account you may have caught a few new pieces and some works in progress. Two commissions I can’t share quite yet and a couple of gifts for others that I can’t share yet and/or haven’t quite finished yet. This post is going to follow the progress of one of the latter and explain how to do a drawing transfer by hand. The exampled image is a gift for my sister’s birthday which hasn’t happened yet, so I’ll be releasing this post a few days after I’ve written it. Ooo, almost like time travel. Hello future readers!


How To Transfer an Image

click thumbnails for larger view

0df44a1985e45064b7de0873b0659f67_large_1
Step One:  Have your final rough sketch or image ready.

In this case I’m using a piece by street artist Banksy. This is my sister’s favorite street artist, so much-so that she even has one of his pieces tattooed on her. I felt this piece would really resonate with her personally and thought the girl in it even kind of looked like her. This was the first time I’d used this image transfer technique on anything other than my own drawings. Up until now I’ve used this technique to transfer dog portrait sketches on to the final page without risking ruining said page with my first few attempts.


IMG_20151023_204706
Step Two:
Trace your image onto tracing paper.
A light box helps (or a window on a sunny day, if you can stand drawing vertical).

Choose your surface you want to transfer the image on to.

To the left you’ll see the primed canvas board I chose to use. This was also a first for me and at this point I really had no clue whether the transferred image would even show up on the painted surface.


IMAG2091
Step Three:
Prep your surface

Technically, this could be step one or two if you want it to be. Prep whatever surface you’re transferring your image to, if prepping is required. You can use this technique to transfer images onto just about any surface that will accept the medium you use to transfer it with (see step four).

I’m pretty impatient and hate waiting for paint to dry so used a small space heater to help me out. Once it was mostly dry I rubbed it with a dry paper towel. This caused the washed out spaces you’ll see in the following images of the canvas. This was done simply for artistic effect. You can wait for the whole thing to dry if you wish 😉


IMAG2093Step Four: Flip your traced image over so it appears mirrored. Cover the back of the tracing paper along where your drawing is with a soft pencil such as a 6B or higher, or a soft medium such as pastel, charcoal etc.

Be as precise or messy as you’d like, I found it doesn’t make much of a difference either way. One thing I’d suggest is using a different coloured pencil for your original traced drawing because once the graphite is added to the back it can be harder to see your first drawing in detail.


IMAG2095Step Five: Place your tracing page graphite side down onto your prepared (or unprepared) surface of choice wherever you wish the drawing to sit on the page.
Use a different coloured pencil (red works well) to trace your image again.

I taped the left and bottom edges to the binder I had placed under the canvas board. So no tape was touching the canvas itself.

The left corner I secured with a binder clip, securing page to canvas.

IMAG2096

Step Six: Now that you have a rough stencil of your drawing transferred to the page of your choice you can add details, colour, paint etc.

IMAG2100IMAG2106